
A few days ago, I was helping a friend upload a product image when the website popped up a red message saying the file was too large—the image was 4 MB, and my friend was really freaked out. I told him not to worry and showed him how to reduce image file size directly in a browser. Three seconds later, the image was compressed to 300 KB, with almost no noticeable difference in image quality. If you need to compress JPG files or lower image quality to meet an upload limit, an online image compressor can usually handle it in seconds. My friend asked what tool I used.
1. Squoosh
Website address: https://squoosh.app/
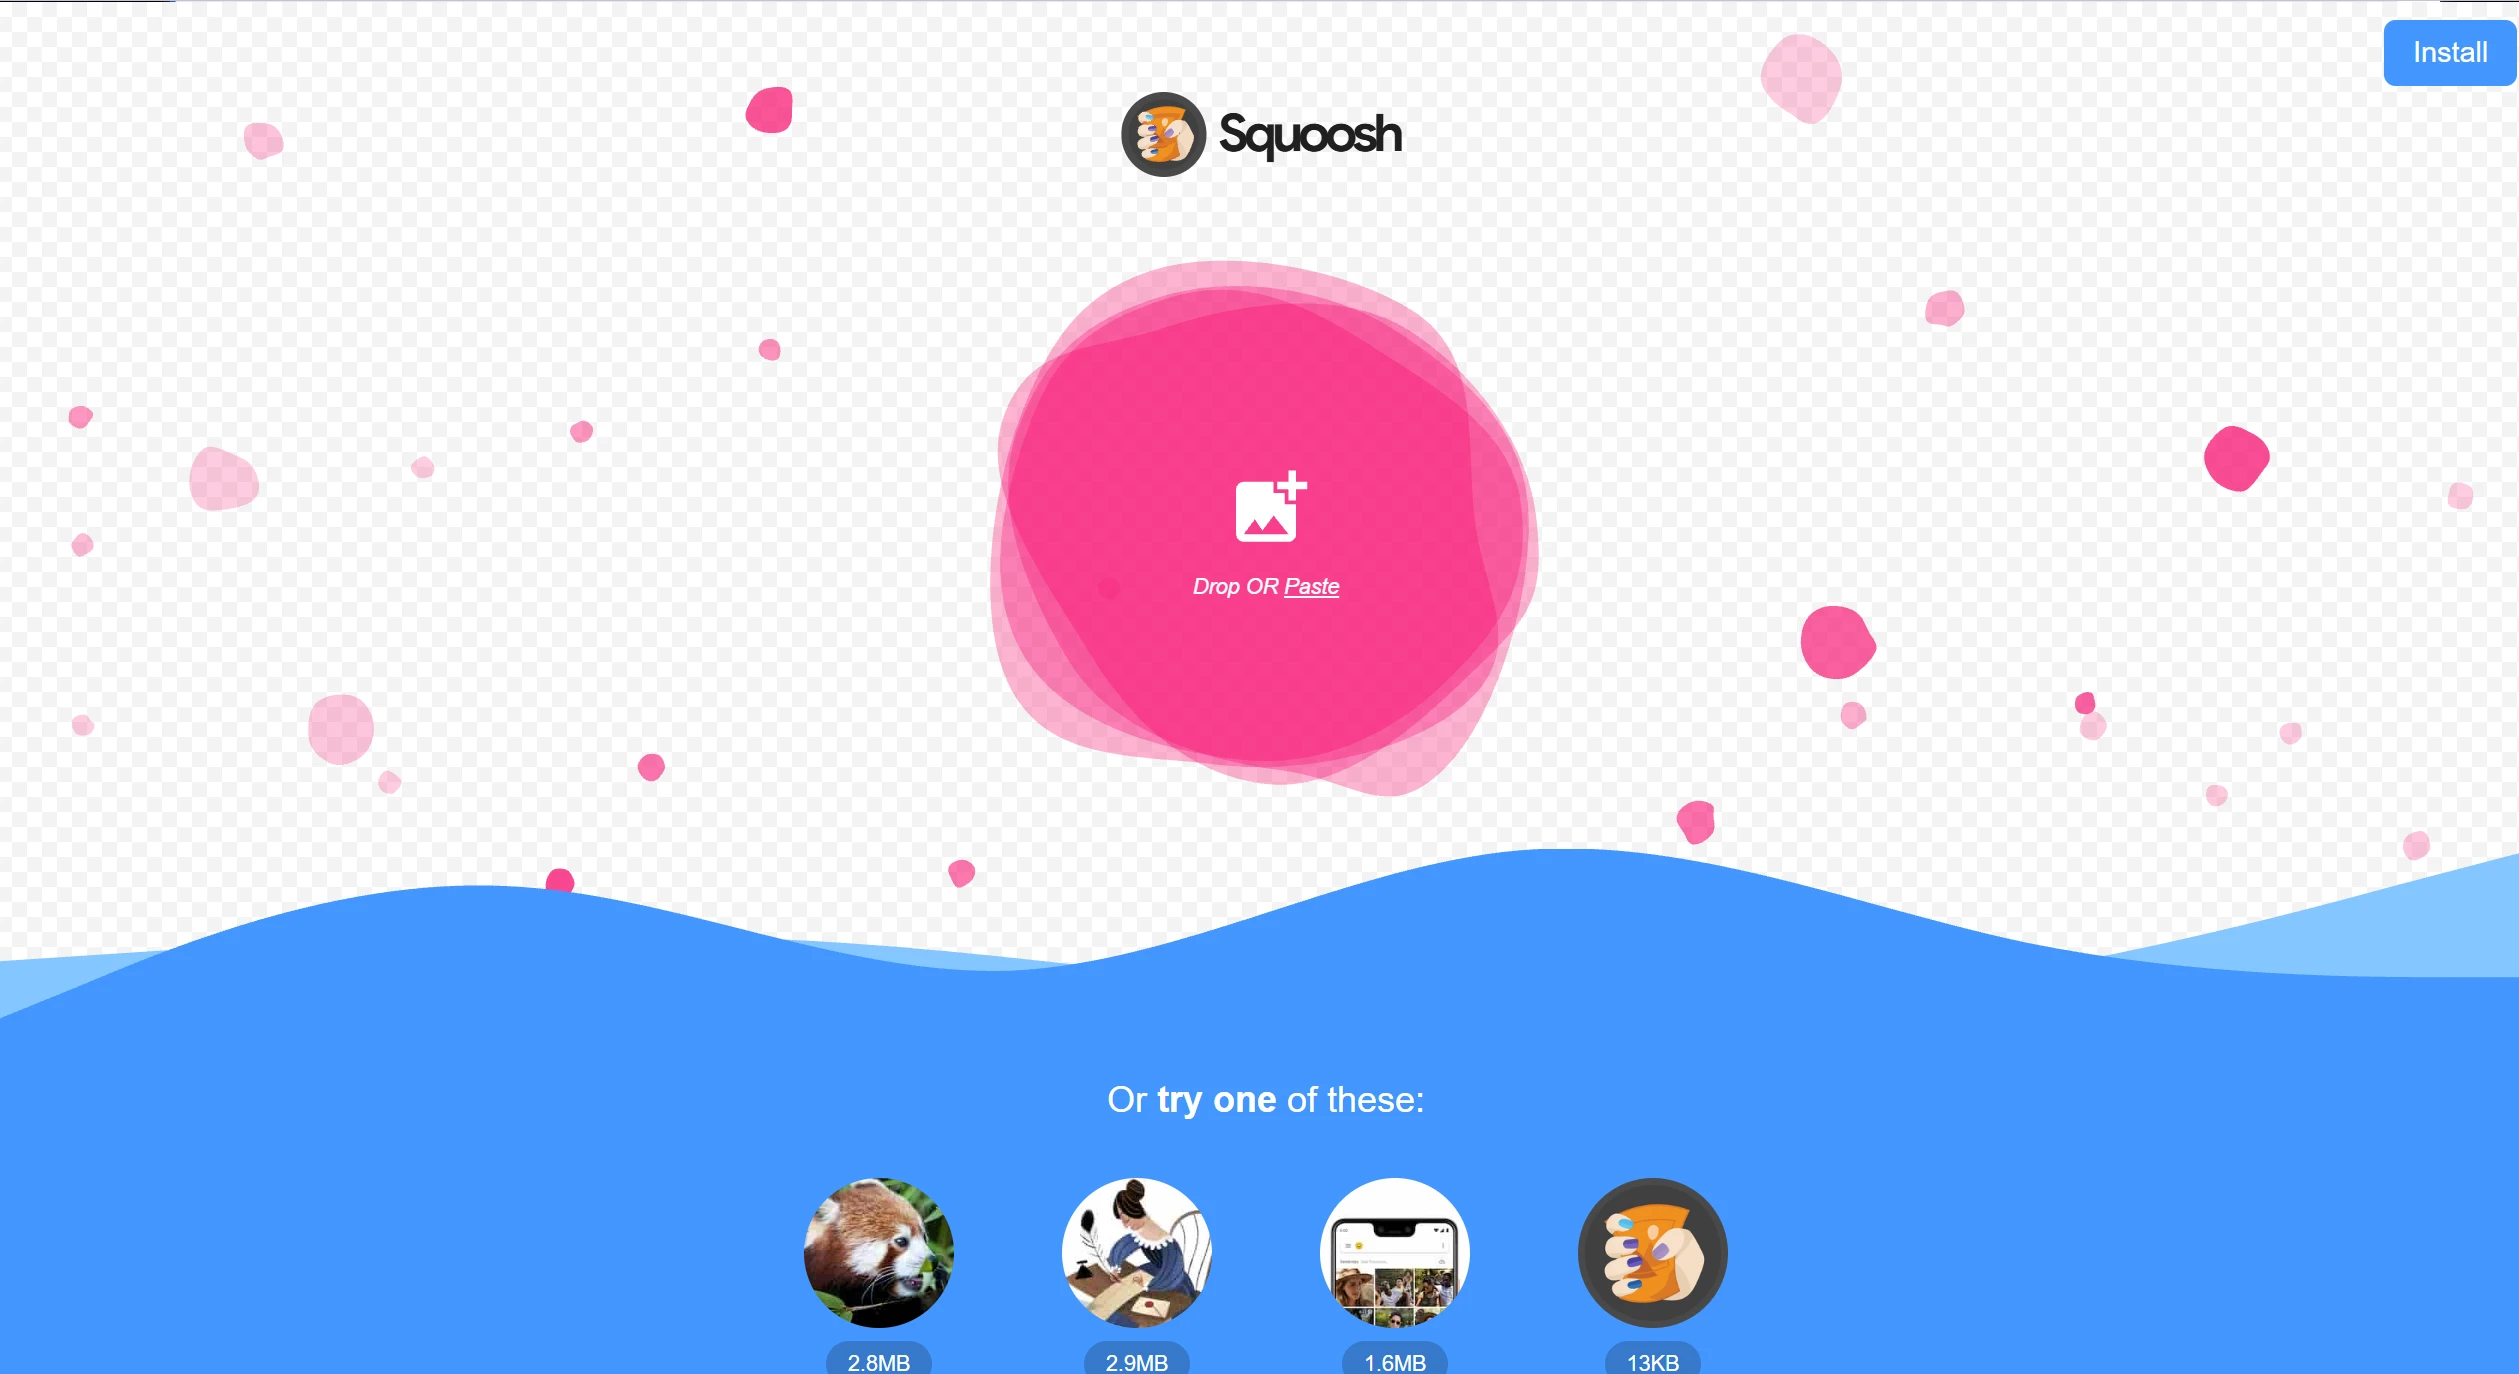
Squoosh is the tool I use the most. It’s a web-based tool developed by Google; you can use it right in your browser without having to sign up for an account, and you don’t have to worry about your images being uploaded to someone else’s server—all compression is done on your local computer.
After dragging an image into the tool, the original image appears on the left and the compressed version on the right. You can drag the line in the middle to compare the changes in image quality. This feature really puts my mind at ease because I can see for myself whether the image quality has deteriorated. Squoosh supports JPEG, PNG, WebP, and AVIF formats. I usually set the quality between 75 and 85—the file size is noticeably smaller, and the image quality remains quite good. If you need a smaller file, you can lower image quality gradually until you find a good balance.
Squoosh is better suited for processing single images. If you need to lower image quality while keeping an eye on the visual result, its side-by-side preview makes the process easy to control. If I need to compress dozens of images at a time, I’ll switch to a different tool.
2. TinyPNG
Website address: https://tinypng.com/
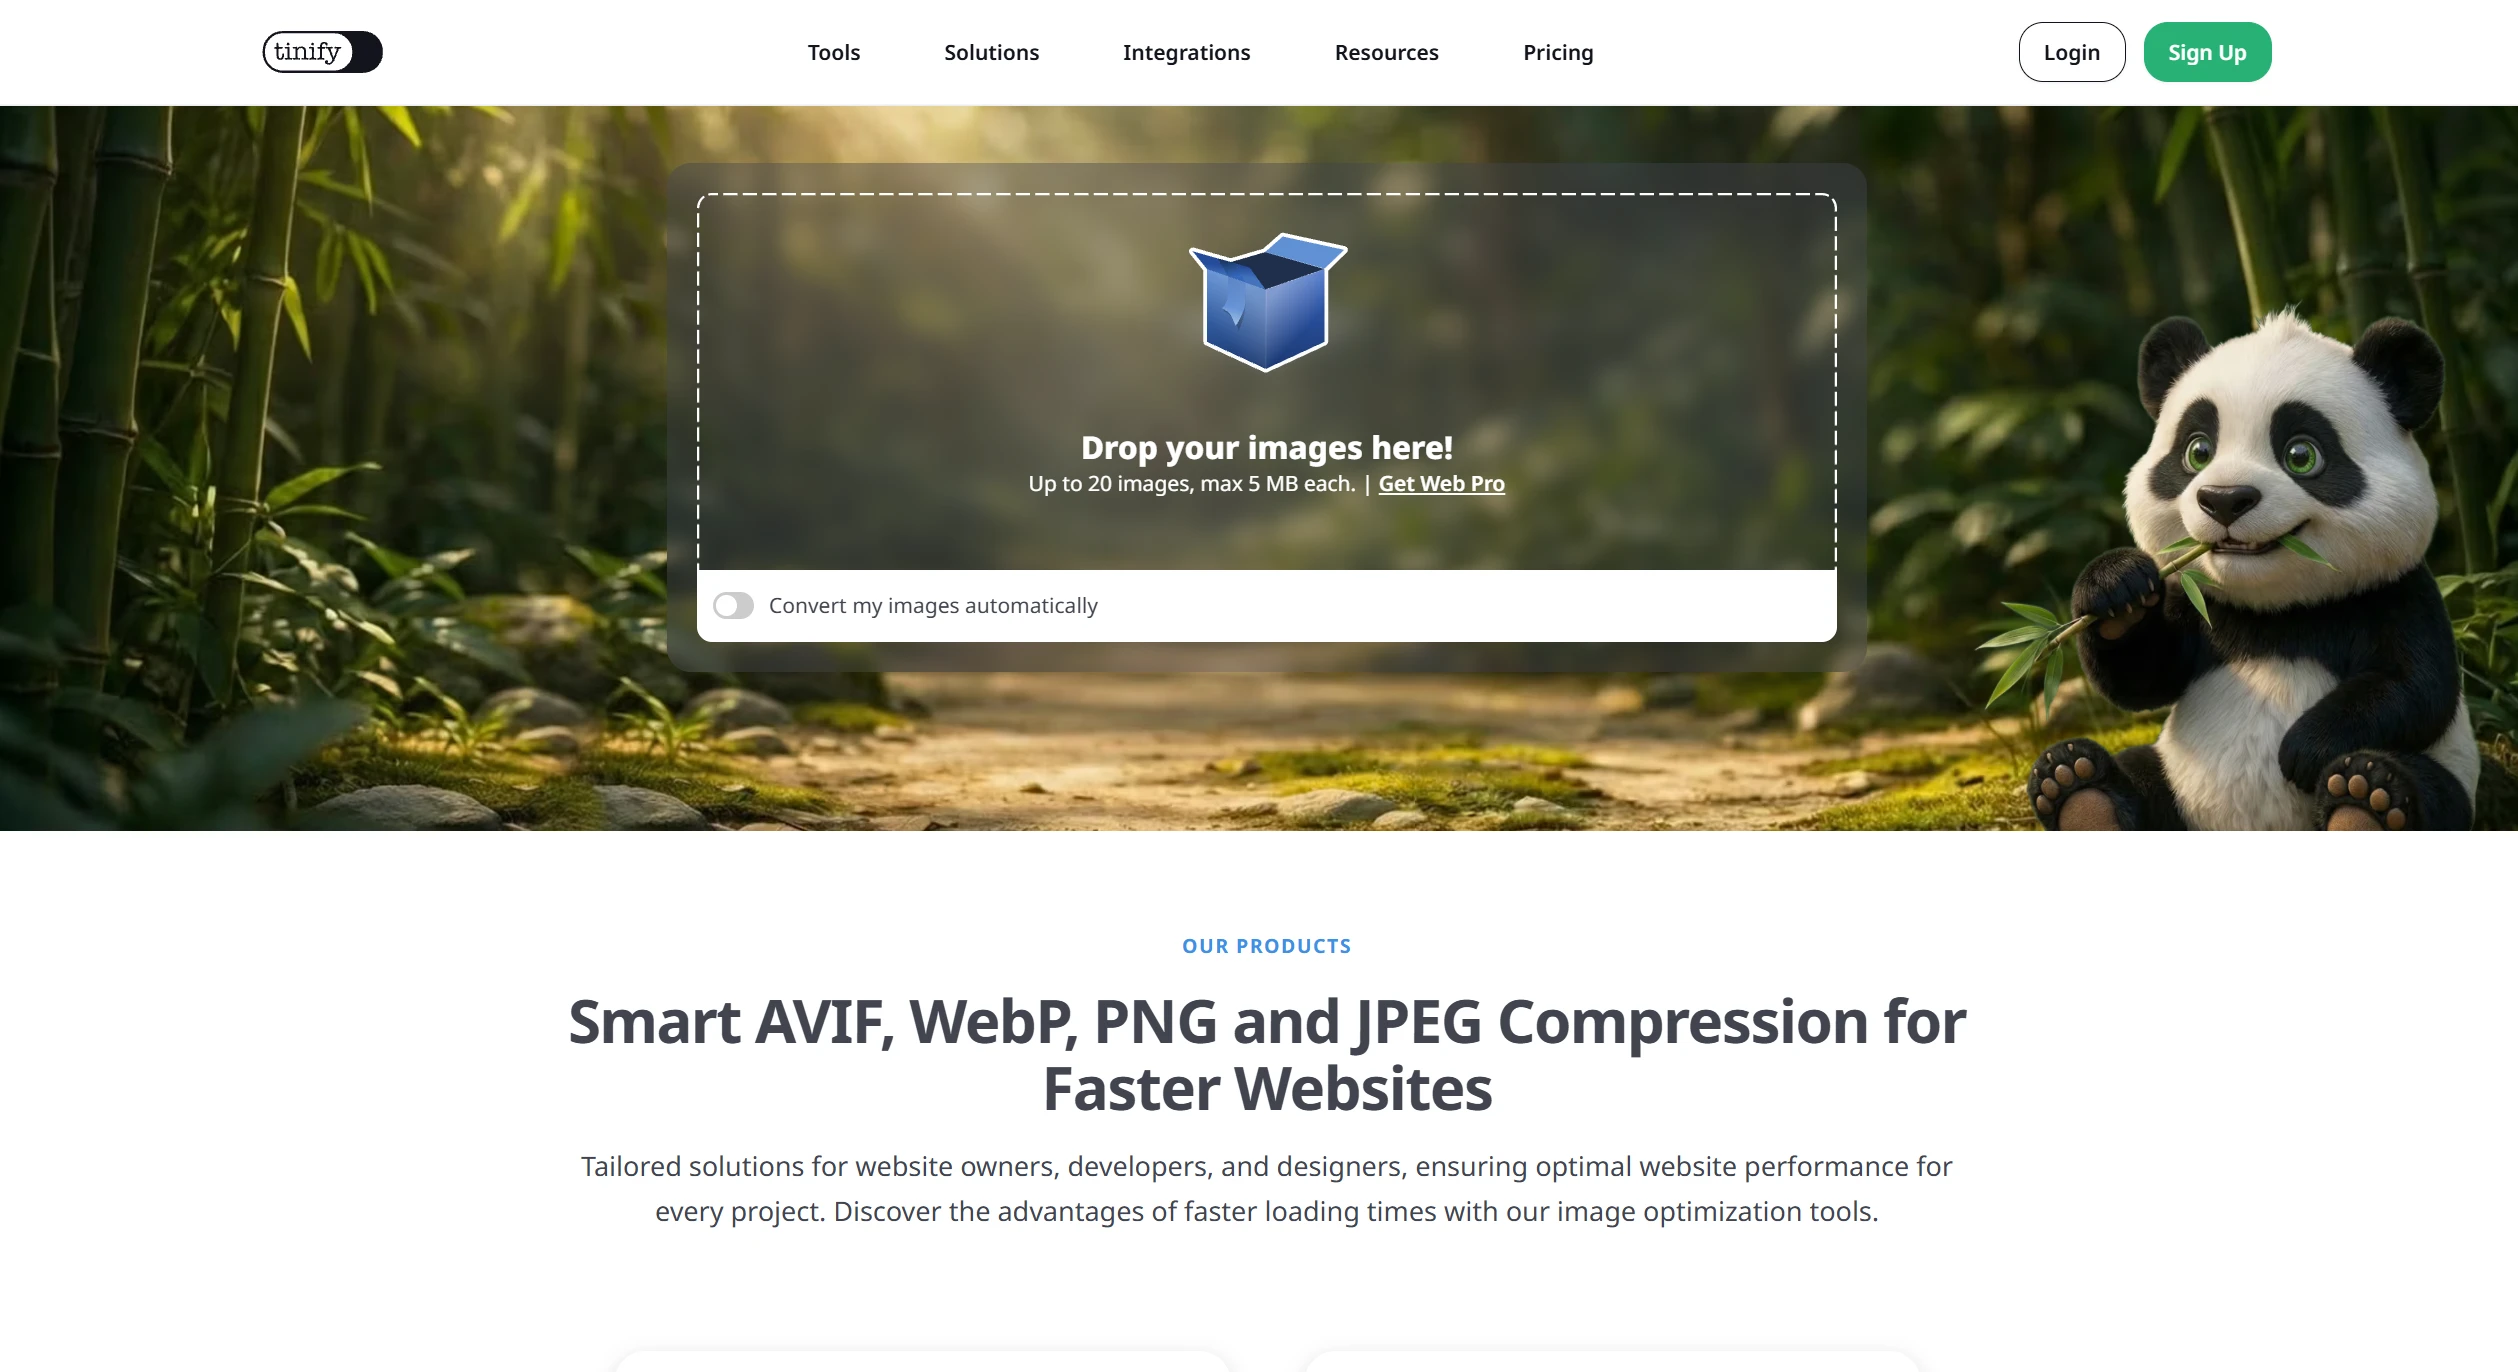
TinyPNG is the first image compression website many people encounter. It is useful when you want to reduce image file size without manually adjusting many settings. Its intelligent compression technology is very mature, reducing file sizes by 80% with virtually no noticeable loss in image quality. It is also useful when you need to compress a JPG file quickly without manually adjusting many settings. You can upload up to 20 images at a time, with each image not exceeding 5 MB.
The interface is very simple—there’s no need to adjust any settings; it automatically finds the best compression settings. It also offers a WordPress plugin and an API, which can save you a lot of trouble if you have your own website.
3. Make the Picture Smaller
Website address: https://picsmaller.com/en-US
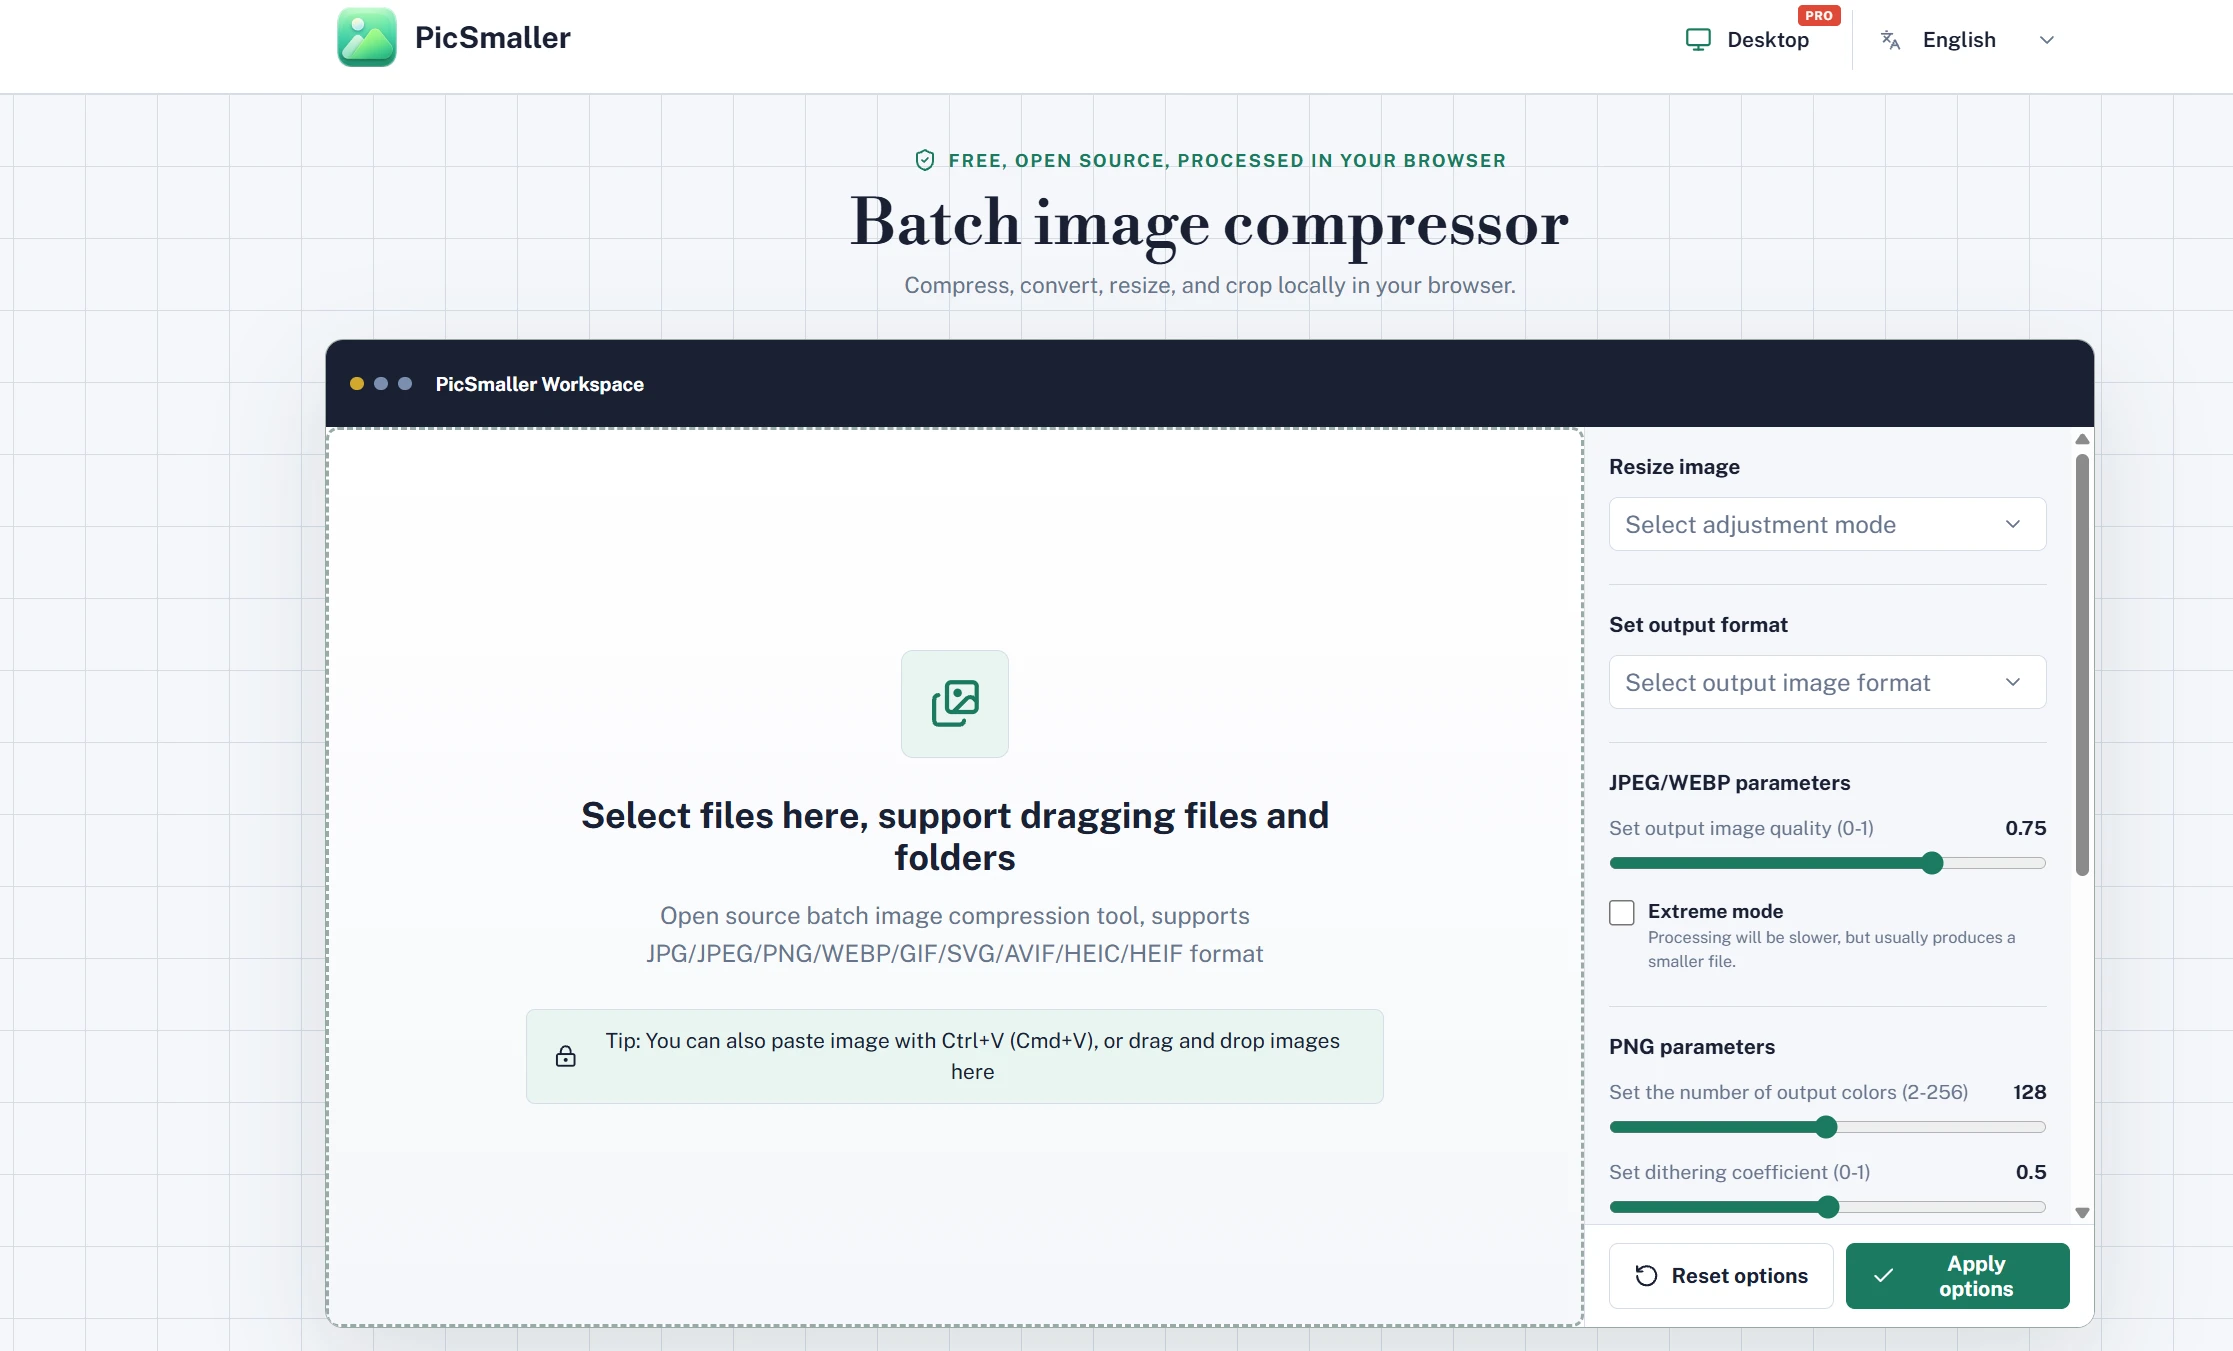
Pic Smaller is a great tool I recently discovered—a completely free, open-source project that supports batch compression of JPG, PNG, WebP, GIF, SVG, and AVIF files. It is especially useful when you need to compress JPG file images together with other formats instead of processing them one by one. Just open the webpage, drag your images into it, and it starts working—no setup required.
Just open the webpage, drag your images into it, and it starts working—no setup required. The details remain sharp even after compression, and you can even drag entire folders right in. It’s very useful for anyone who needs to process large numbers of images.
4. Image Compressor
Website address: https://imagecompressor.com/
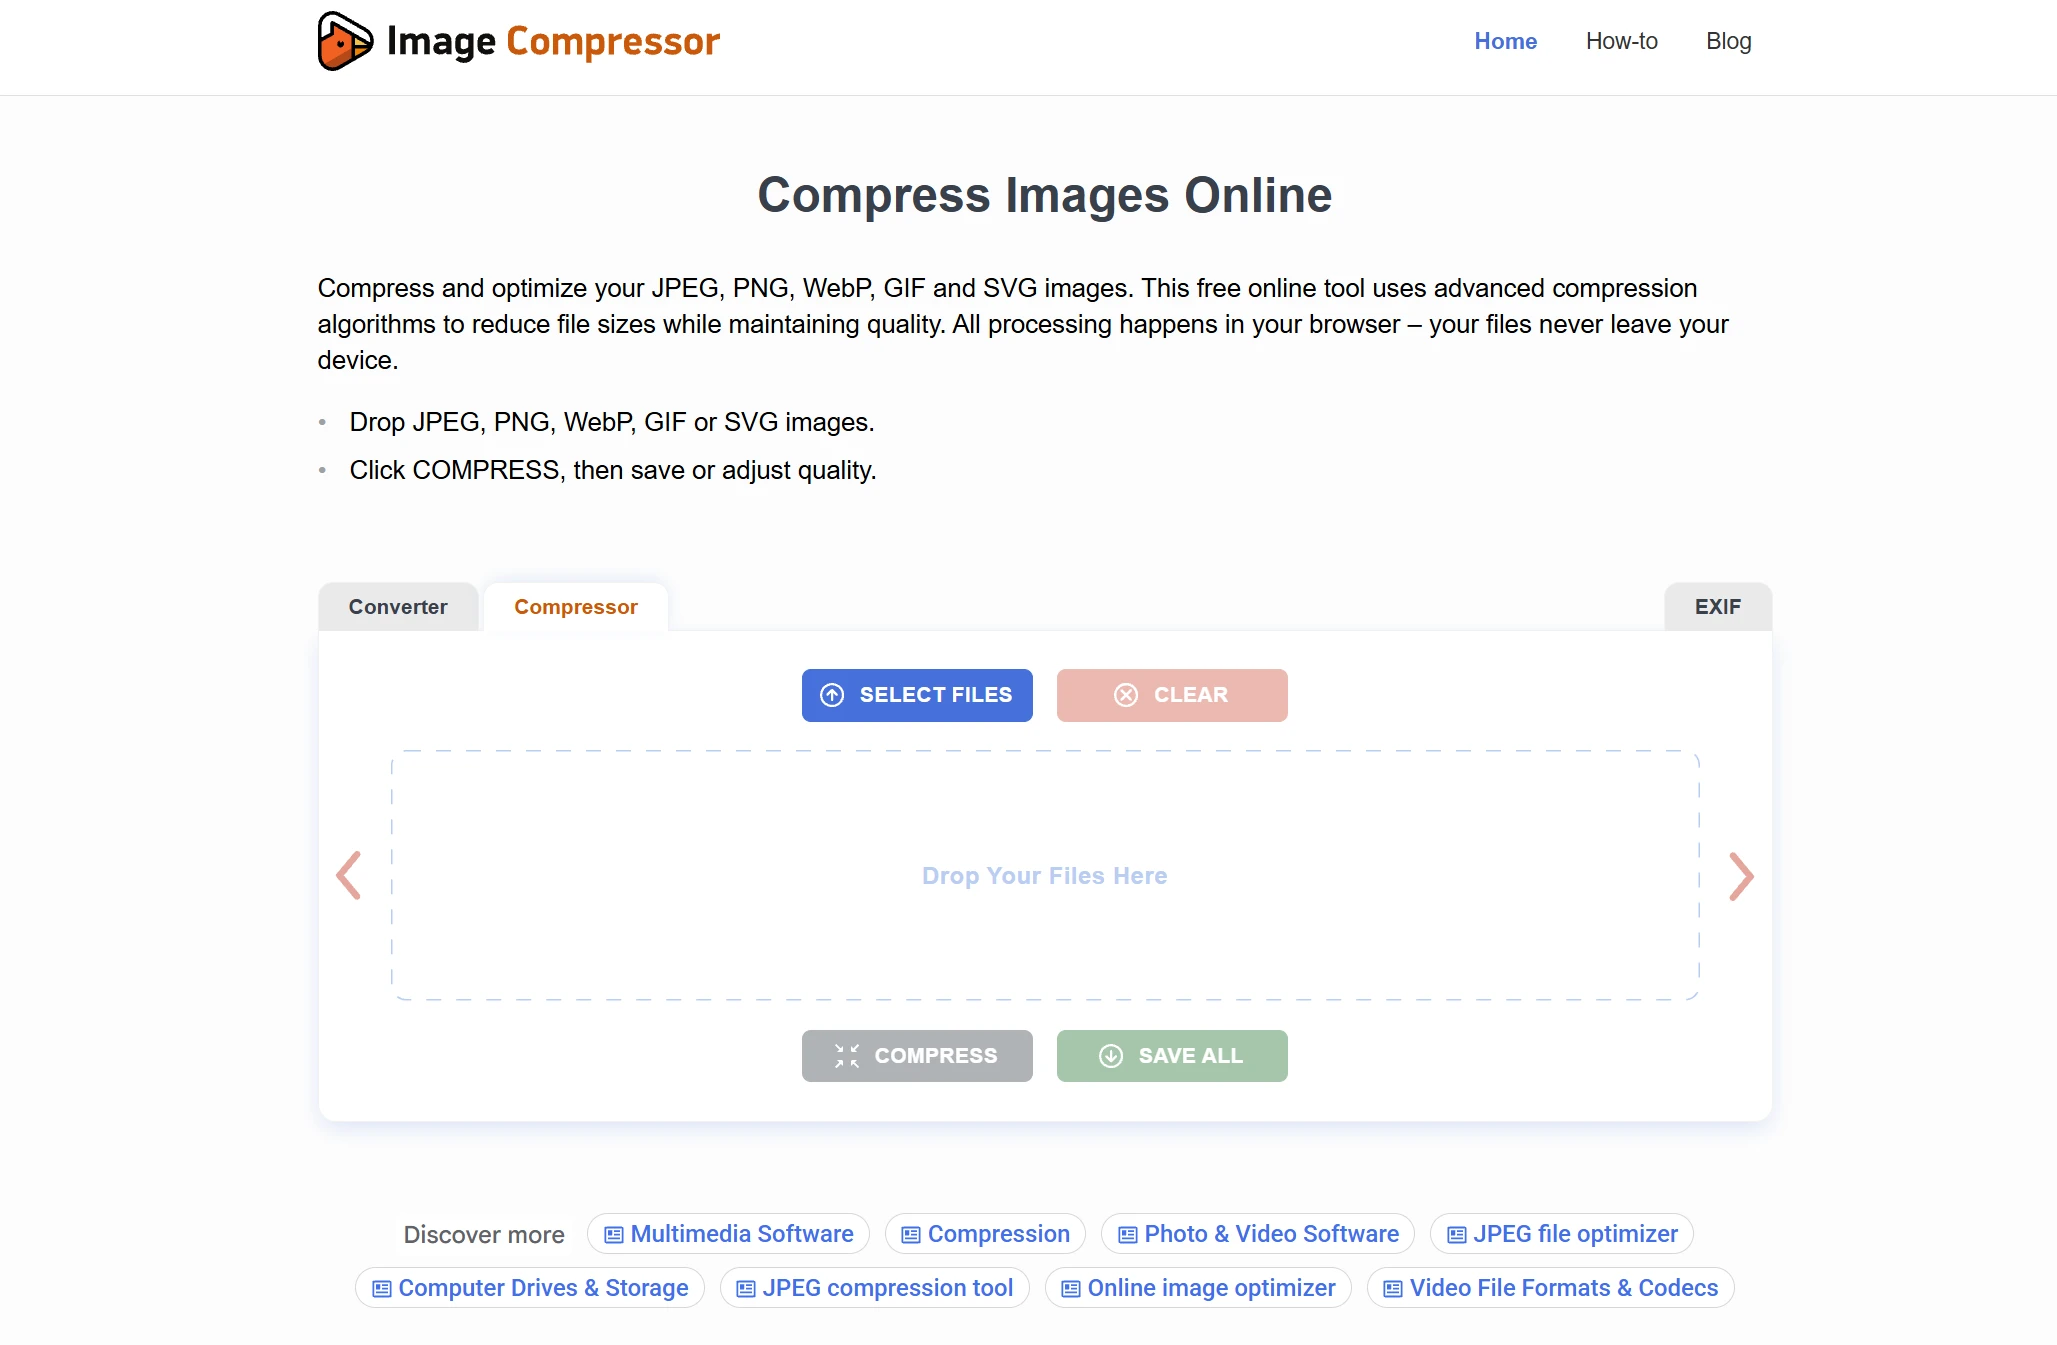
Optimizilla has a very detailed image compression settings panel that puts the control in the user’s hands. After uploading, there’s a quality slider on the right that lets you adjust the compression level yourself and see the results as you drag it. You can lower image quality to reduce the file size while checking the result in real time—even when compressed down to 77%, there’s no noticeable difference to the naked eye. It supports up to 20 images at a time, which is plenty for everyday use.
5. SmallJPG
Website address: https://smalljpg.org/
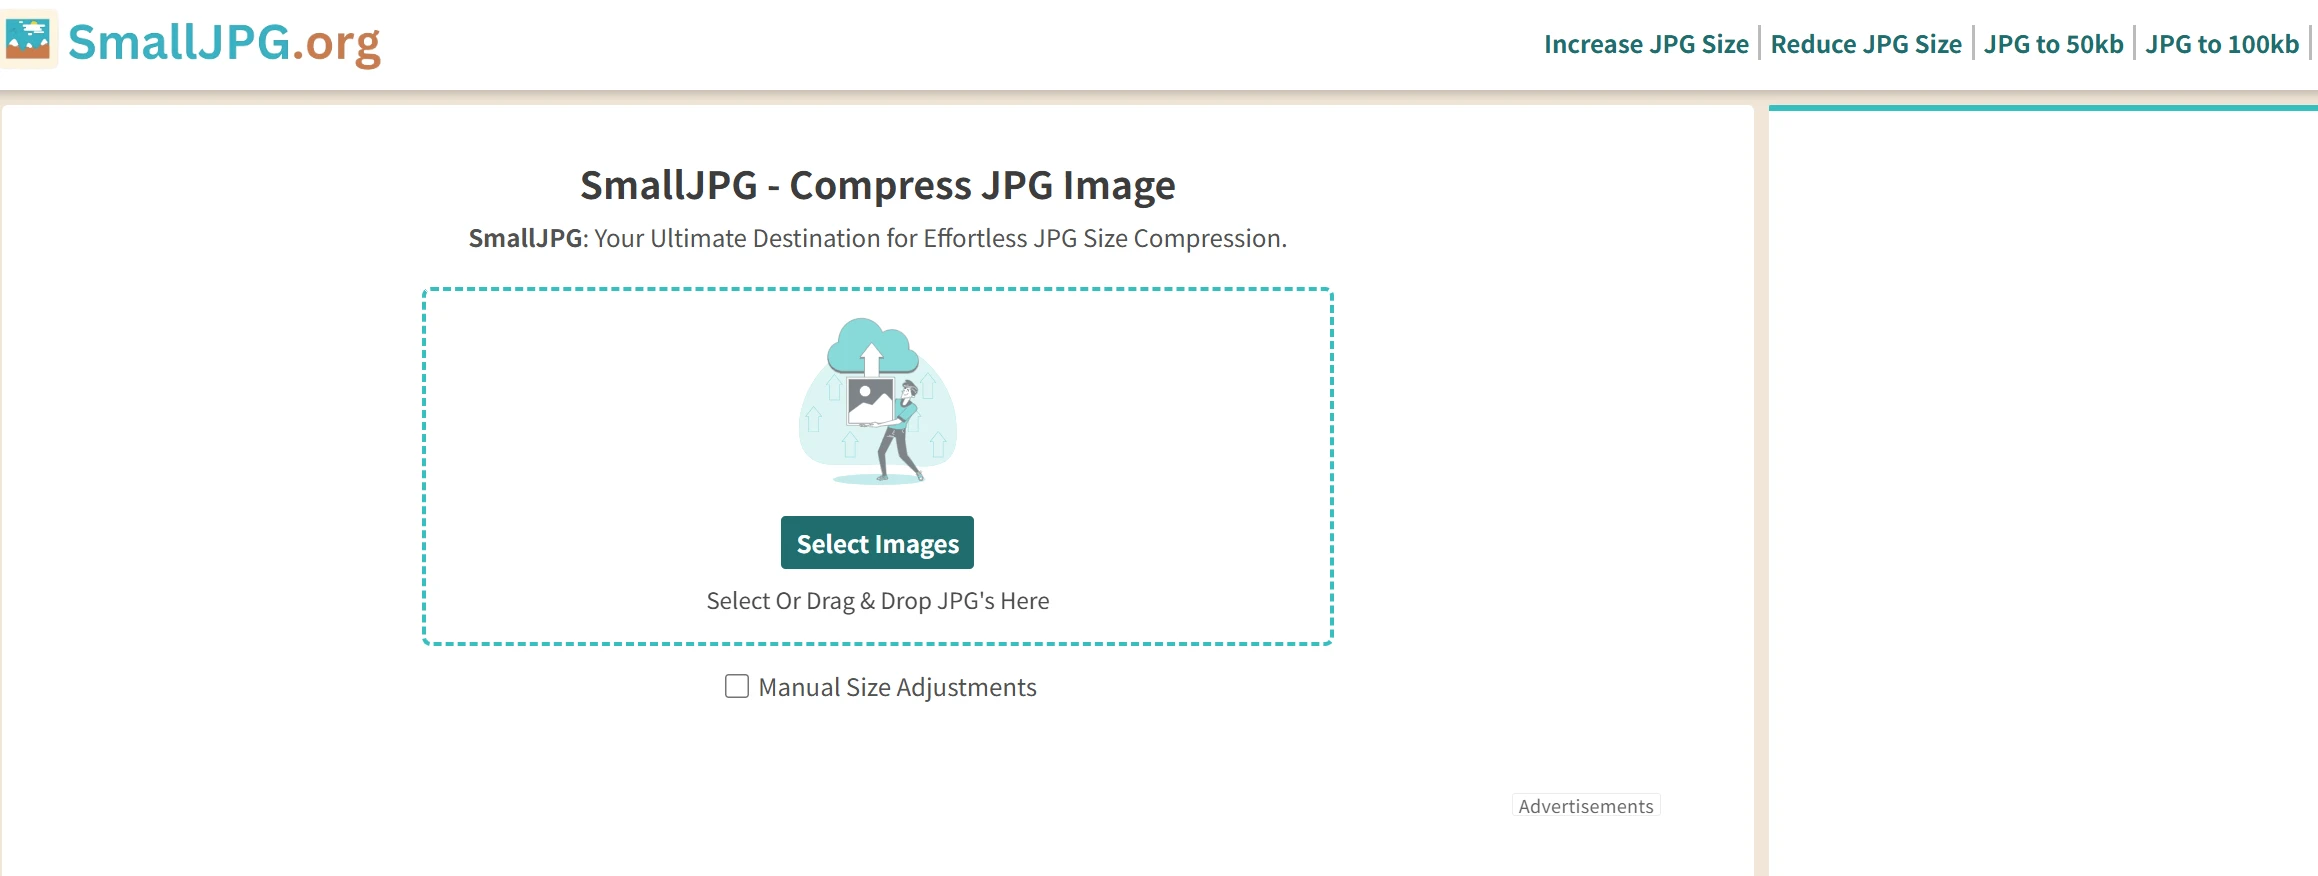
One unique feature of SmallJPG is that you can directly specify the target file size after compression—for example, 50 KB, 100 KB, or 200 KB. One unique feature of SmallJPG is that you can directly specify the target file size after compression—for example, 50 KB, 100 KB, or 200 KB. If you are wondering how can I reduce picture file size for an application form or ID photo, setting a target size can be more convenient than repeatedly adjusting compression settings. The process is very simple: upload an image, select your target size, click “Compress,” and download.If you are wondering how can I reduce picture file size to meet a specific upload limit, this type of tool can be especially useful. The process is very simple: upload an image, select your target size, click “Compress,” and download. It is a straightforward way to reduce image file size when a website has a strict upload limit.
6. shaoapp
Website address: https://shaoapp.com/en/image
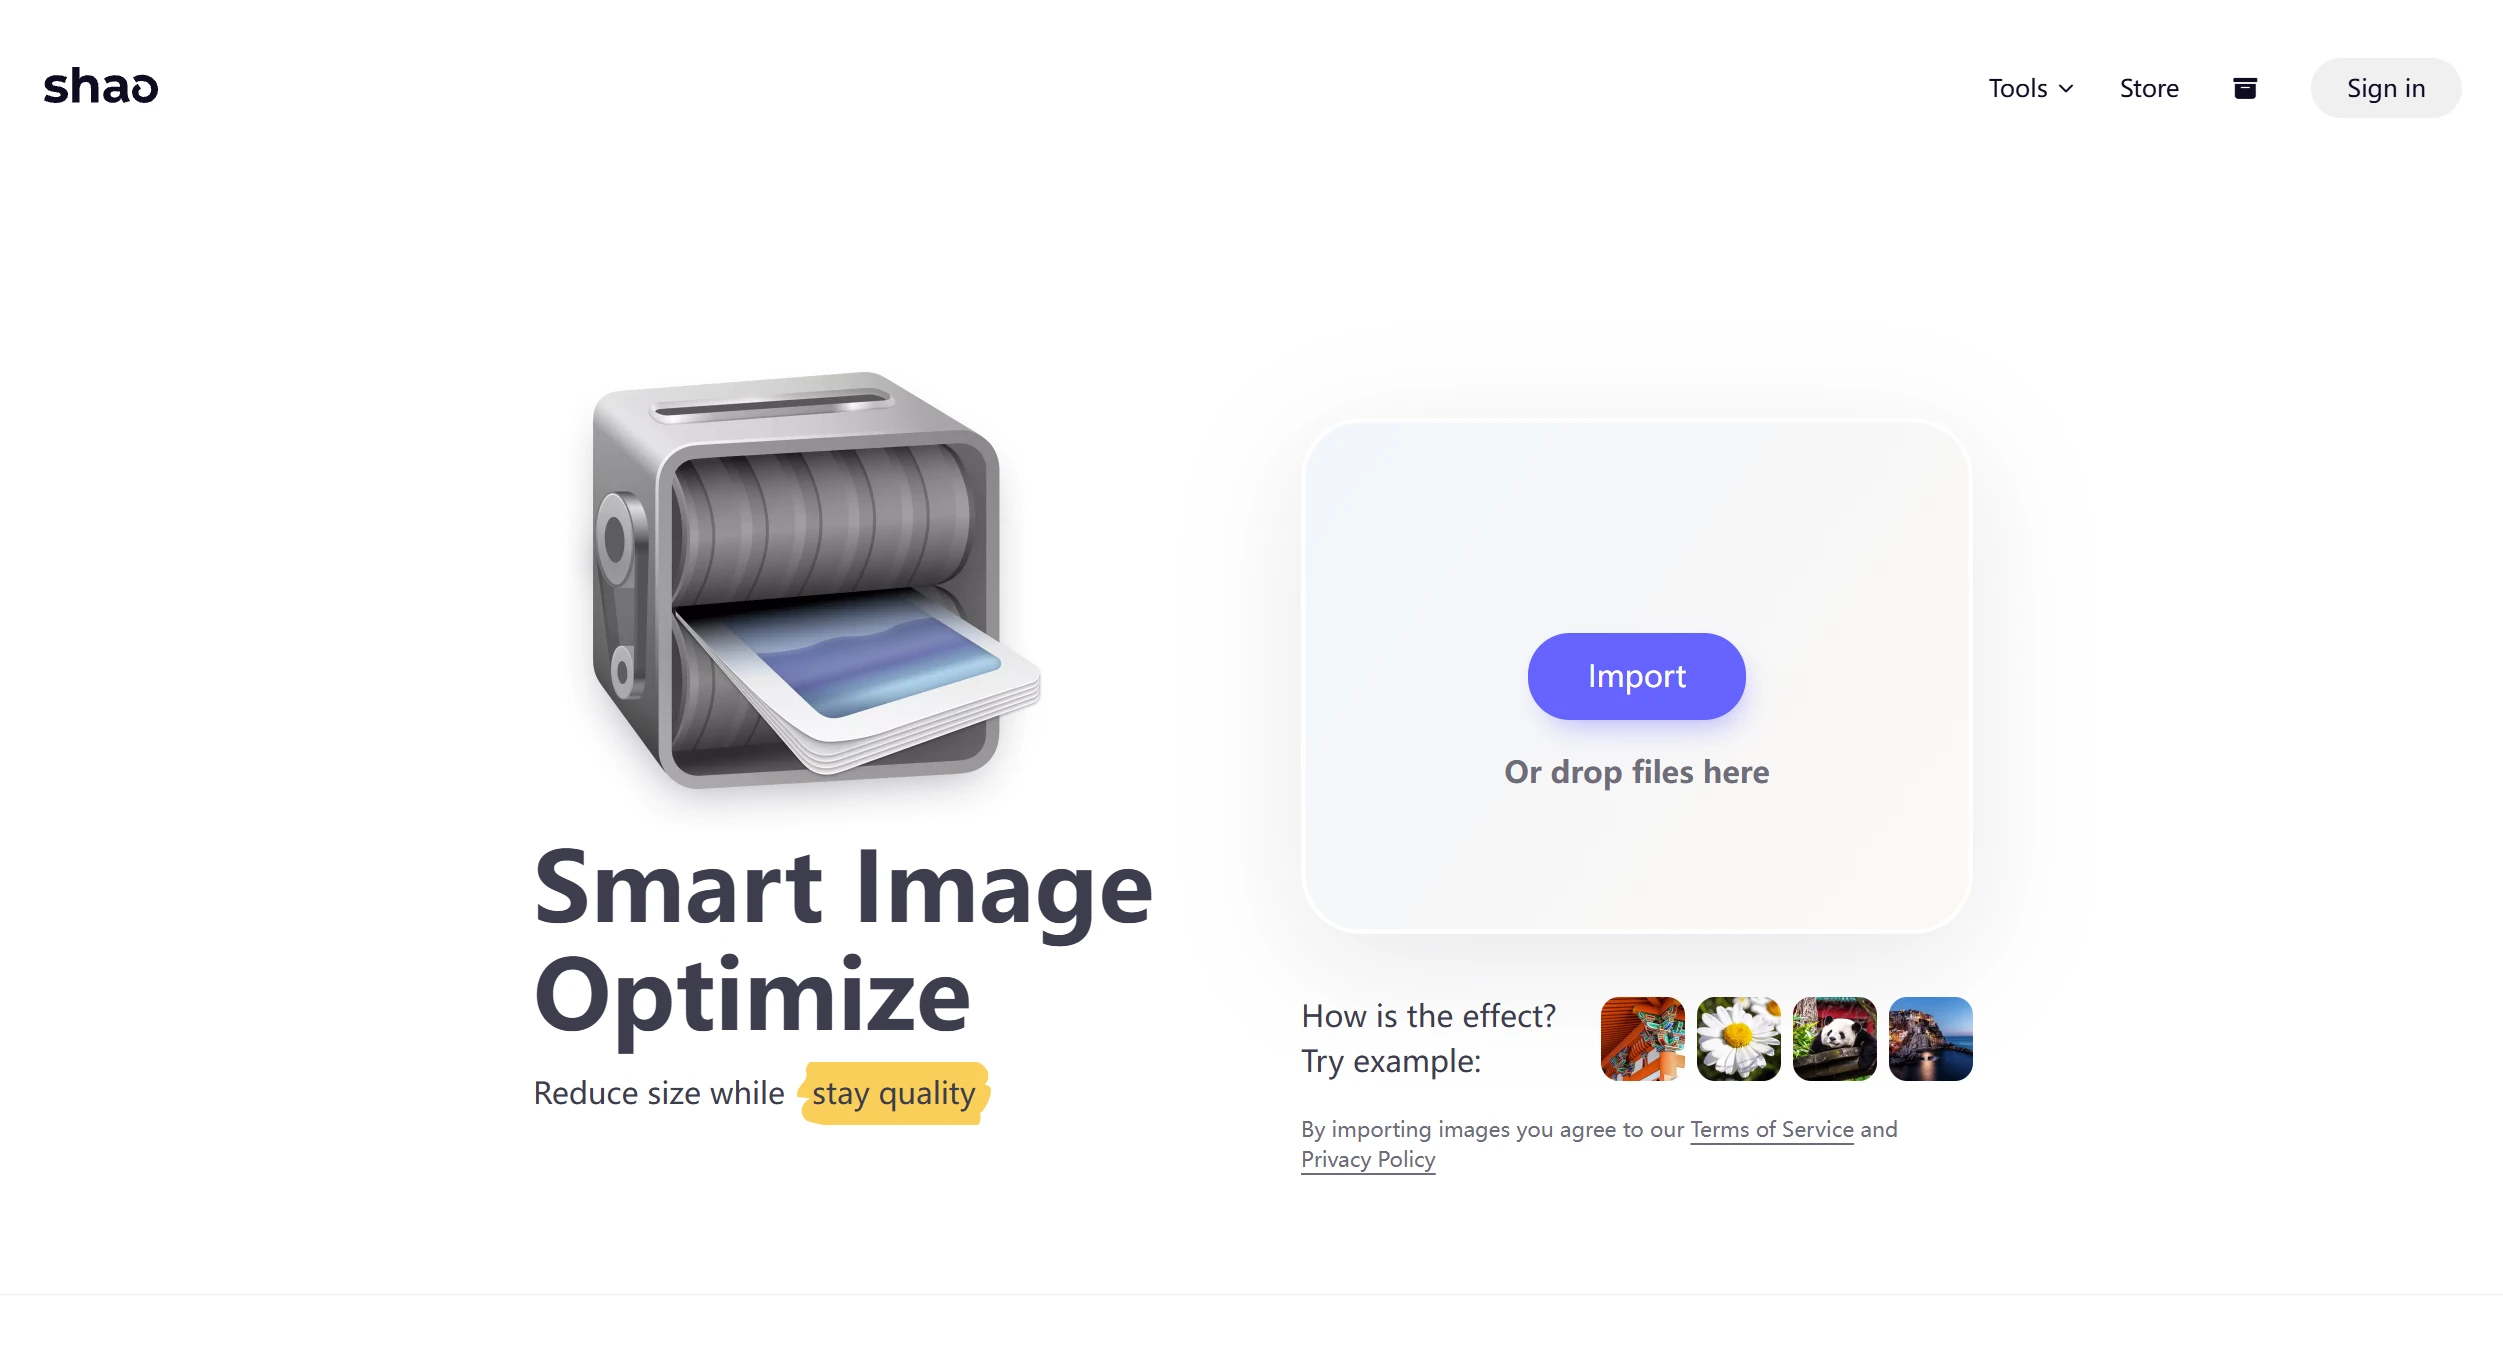
shaoapp.com offers a wider range of features—it doesn’t just compress images, but also provides AI-powered image cropping, watermark removal, and photo editing. It can also be useful when you are looking for a low quality image maker or want to intentionally lower image quality for a smaller file. It supports compression for multiple formats, including PNG, JPG, GIF, and SVG.It supports compression for multiple formats, including PNG, JPG, GIF, and SVG. Whenever I encounter complex image tasks, I turn to it—and its batch compression feature is really handy, too.
How do you choose a website?
For quick compression of one or two images here and there, I use Squoosh—I value its privacy protection and its ability to reduce image file size while showing the quality changes. If you are wondering how to reduce image file size or how can I reduce picture file size, Squoosh and TinyPNG are simple places to start. For batch processing, I use Pic Smaller or TinyPNG; to compress a JPG file to a specific size, I use SmallJPG; and for image cropping or creating a low quality image maker style result, I turn to SHAO. Each tool has its own strengths, and I’ve saved them all in my browser bookmarks—feel free to give them a try when you need them.