Want to use DeepSeek Harness locally? Don't worry—the installation process isn't complicated. All you need to do is set up a Node.js environment first, and then you can complete the setup in just a few steps. Here are the detailed installation steps.
Step 1: Check and Install the Node.js Environment
1.1 Download the Node.js installer
DeepSeek Harness requires Node.js to run. Therefore, we need to make sure this environment is installed on our computer first.
You can visitThe official Node.js website. If you're using a Windows computer, please select.msi-format installer. This file is easy to download; you just need to click “Next” a few times to complete the installation. However, you may need to be patient while downloading, as the file is quite large.

1.2 Verify that Node.js has been installed successfully
Once the installation is complete, we need to verify that the environment has been set up correctly. It's very simple.
First, open the Command Prompt on your computer. You can do this by pressing the following keys on your keyboard at the same time:WinKey andRkey. In the pop-up input box, typecmd, then click “OK.”
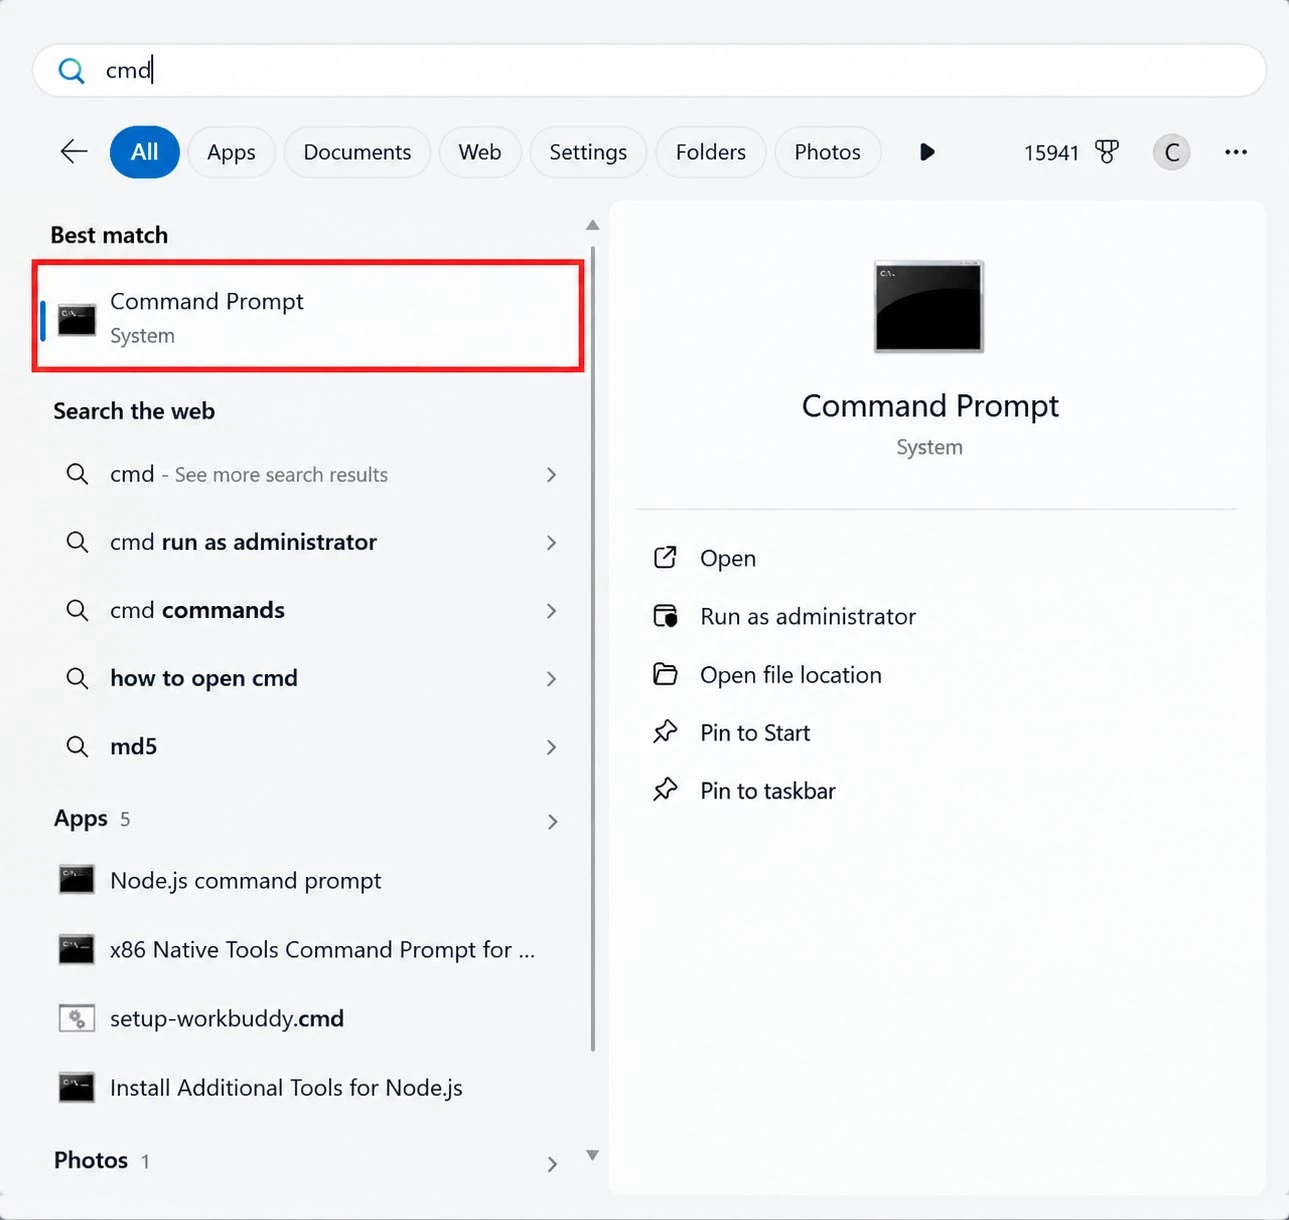
Or you can clickStart Menu,Search in the search boxcmdJust open it:
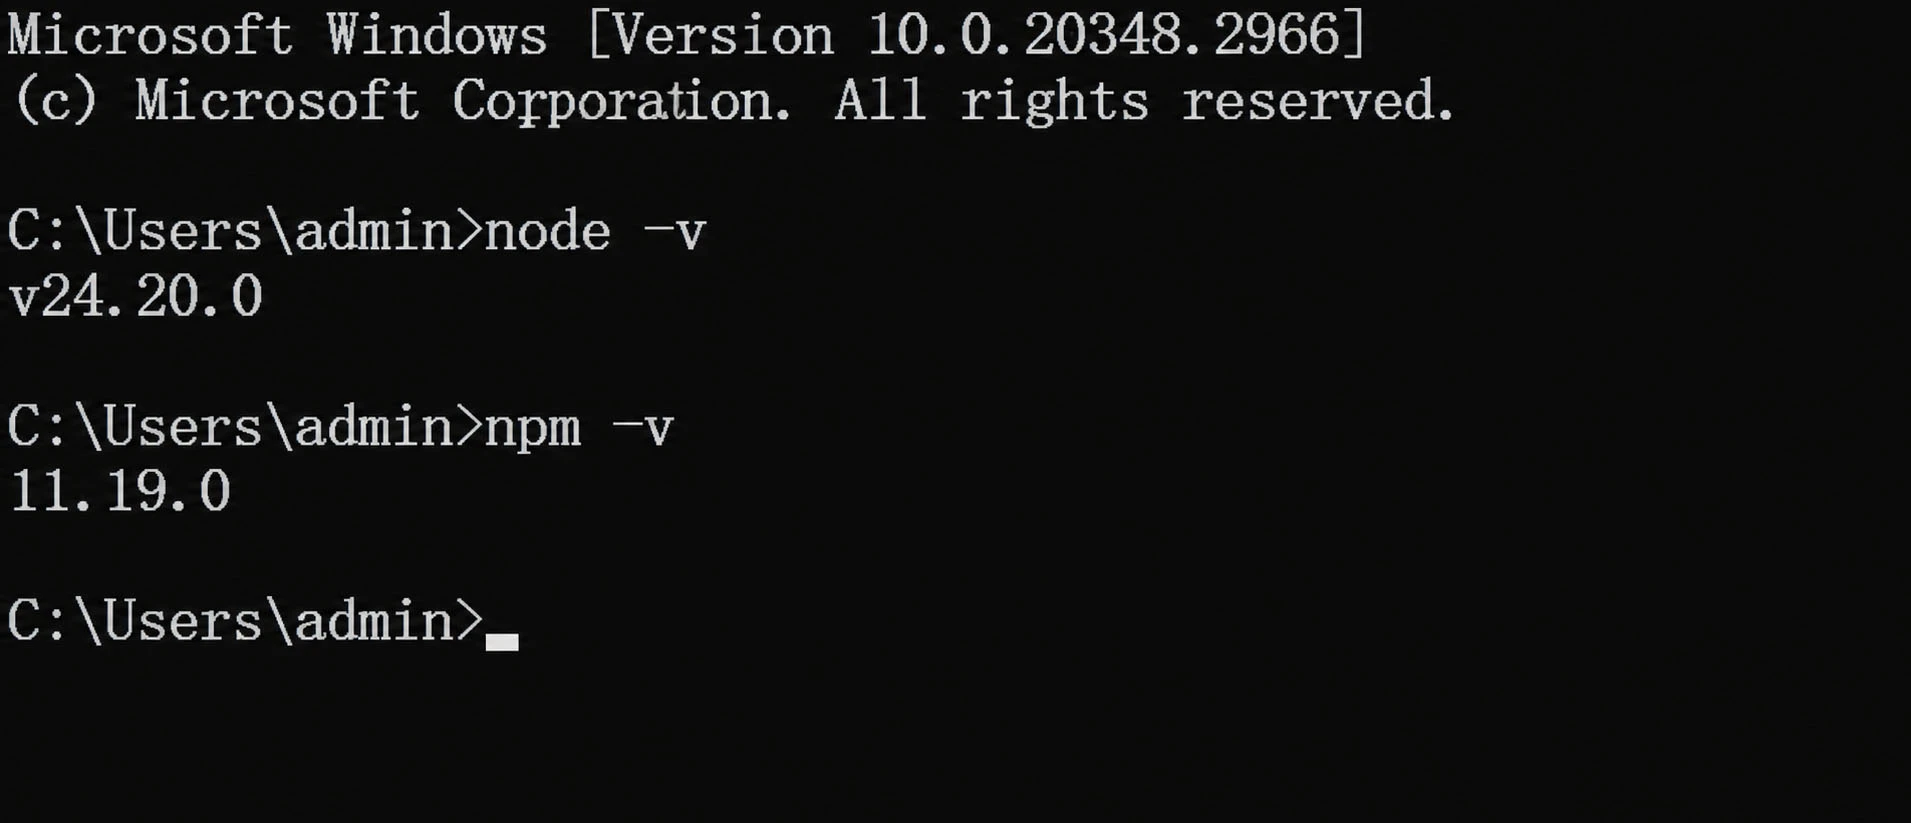
Next, in the black command line window, enter the following two commands and press Enter after each one:
- Input
node -v, This command displays the Node.js version number. - Input
npm -v, This command will display the npm version number.
If you can see the version number, that means Node.js has been successfully installed on your computer.
Step 2: Install DeepSeek Harness
2.1 One-Click Installation of All Components
Once the environment is set up, we can officially begin installing DeepSeek Harness. The entire process is carried out in the CMD window we opened earlier.
Please copy and paste the following command into the command line, then press Enter:
npx --verbose @deepseek-ai/dsh web
This command will automatically download and install all the necessary files for you. The installation process may take some time, so please be patient.

Tip:If, during installation, the command line prompts you to confirm whether you want to continue (usually displayed as (Y/N)), all you need to do is enter y Press the Enter key, and the installation will continue.
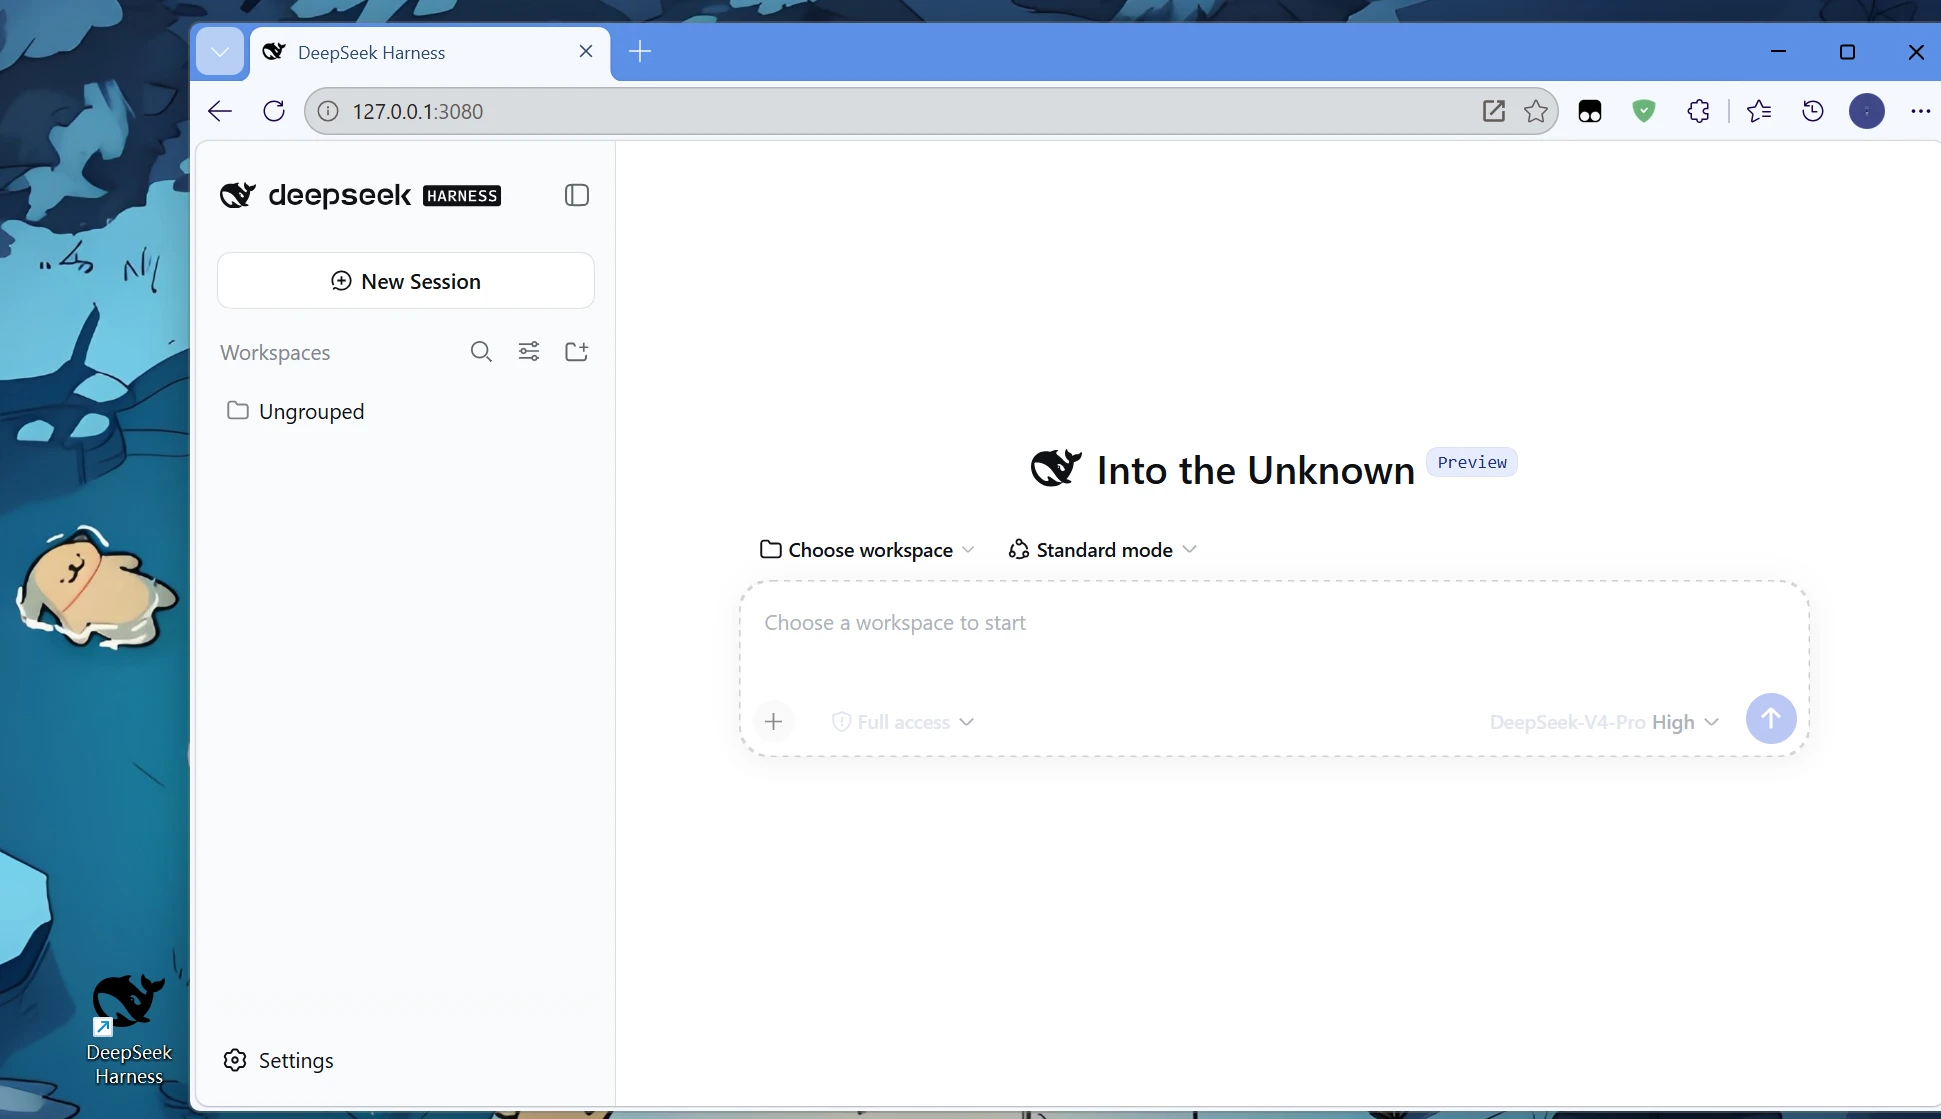
Once all installation steps are complete, your default browser will automatically open a new page. The URL for this page is http://127.0.0.1:3080/. If you see this page, it means DeepSeek Harness has started successfully on your local machine.
2.2 Configure Your API Key
Once the browser page opens, you'll see a text box where you need to enter an API key. This key is used to connect to the DeepSeek service.
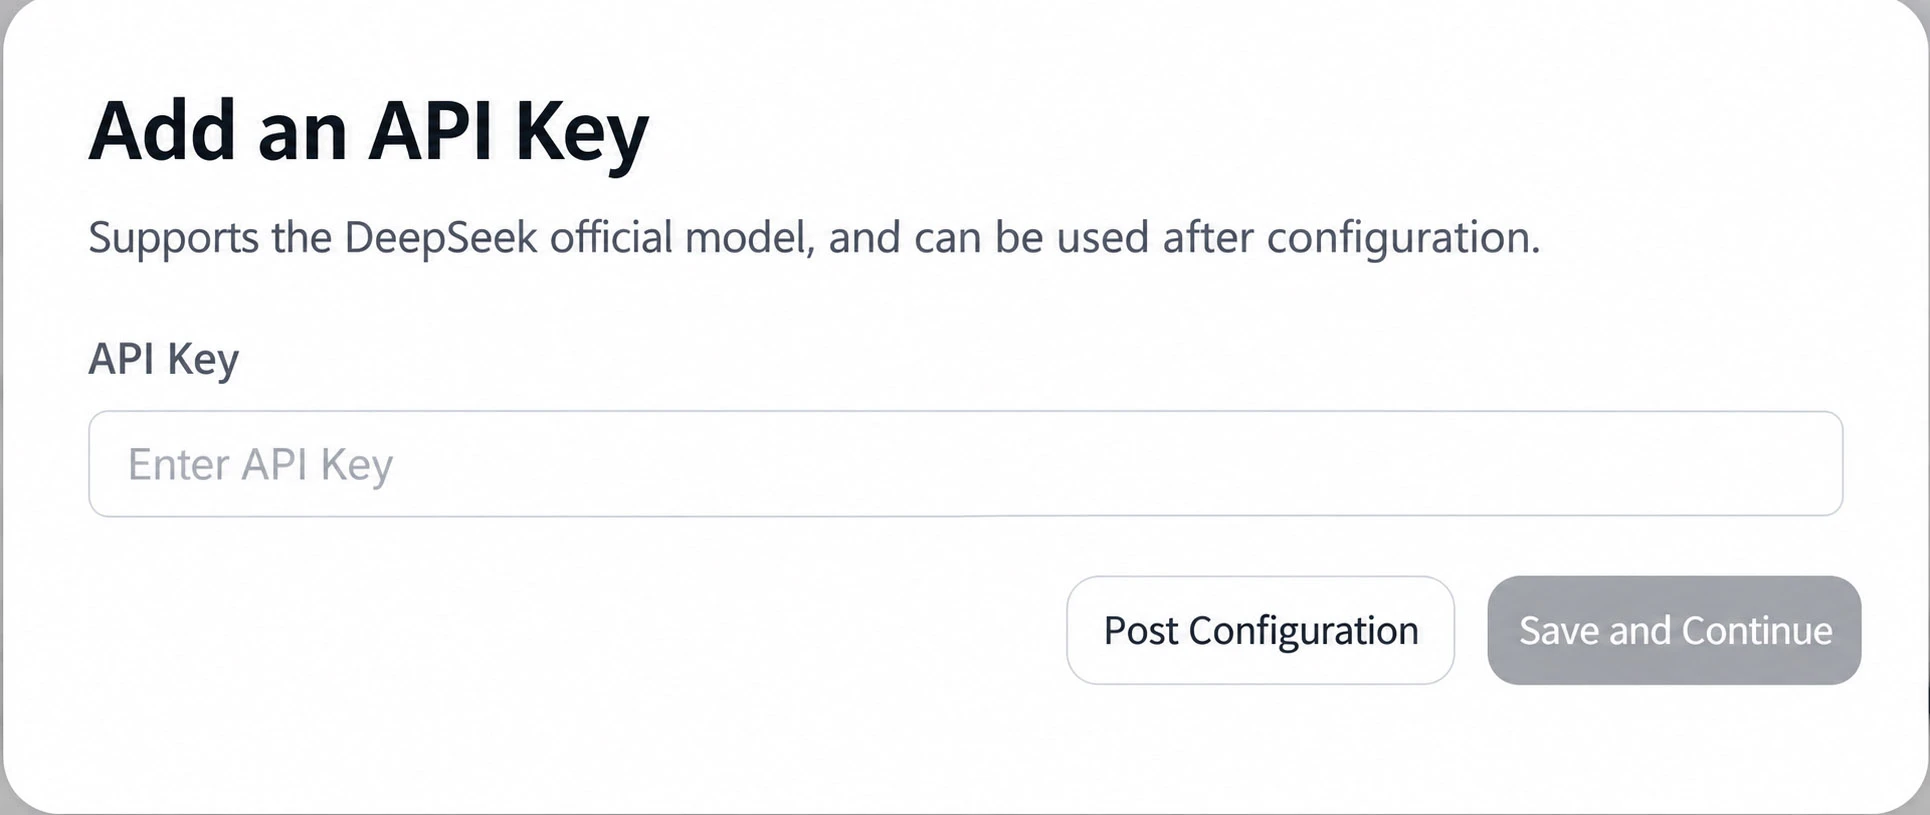
Getting an API key is also easy. You need to go toDeepSeek Open Platform. If you don't have an account yet, you'll need to register for one first. After you've successfully registered and logged in, find the “API keys” section on the page.
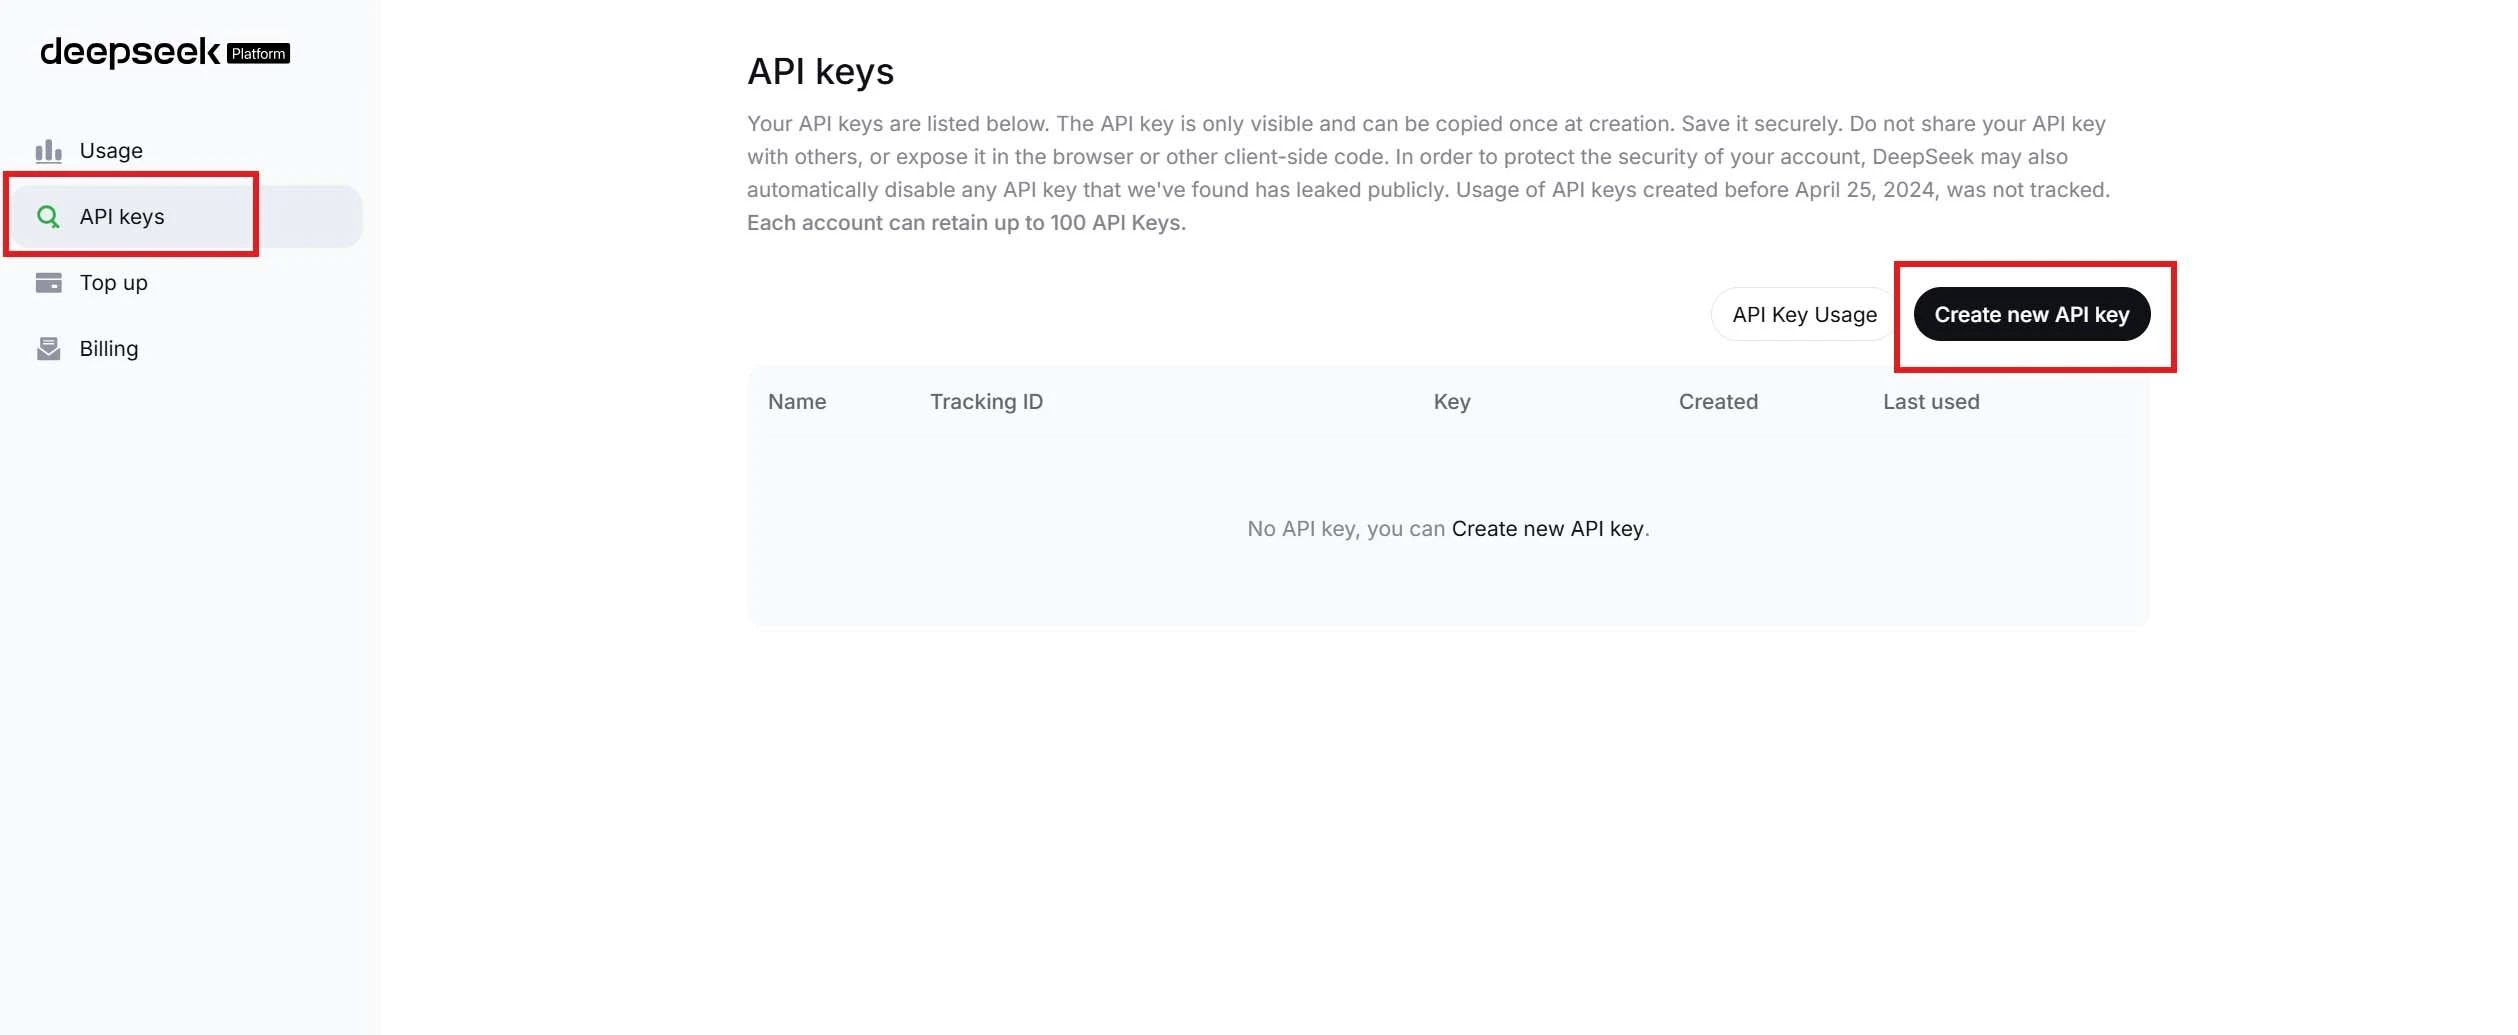
Click the “Create API Key” button, and the system will generate a key. PleaseBe sure to copy and save this safely.This key. Then, go back to the local DeepSeek Harness page you were on earlier and paste the key into the input field.
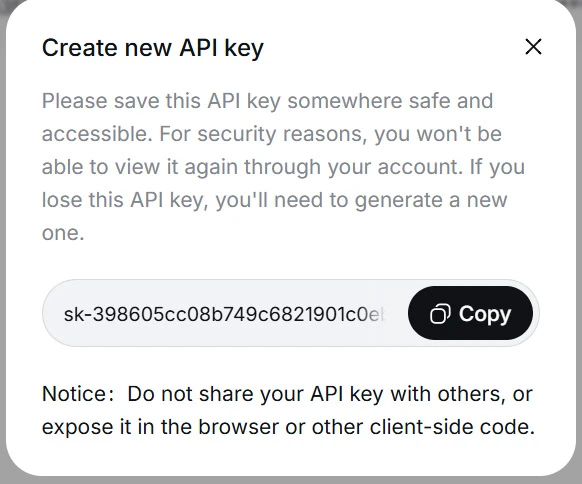
Important Reminder:Before using your API key, please remember to add funds to your account in the “Top Up” section of the platform. This will ensure that your API key can access the services properly.
2.3 Creating a Desktop Shortcut
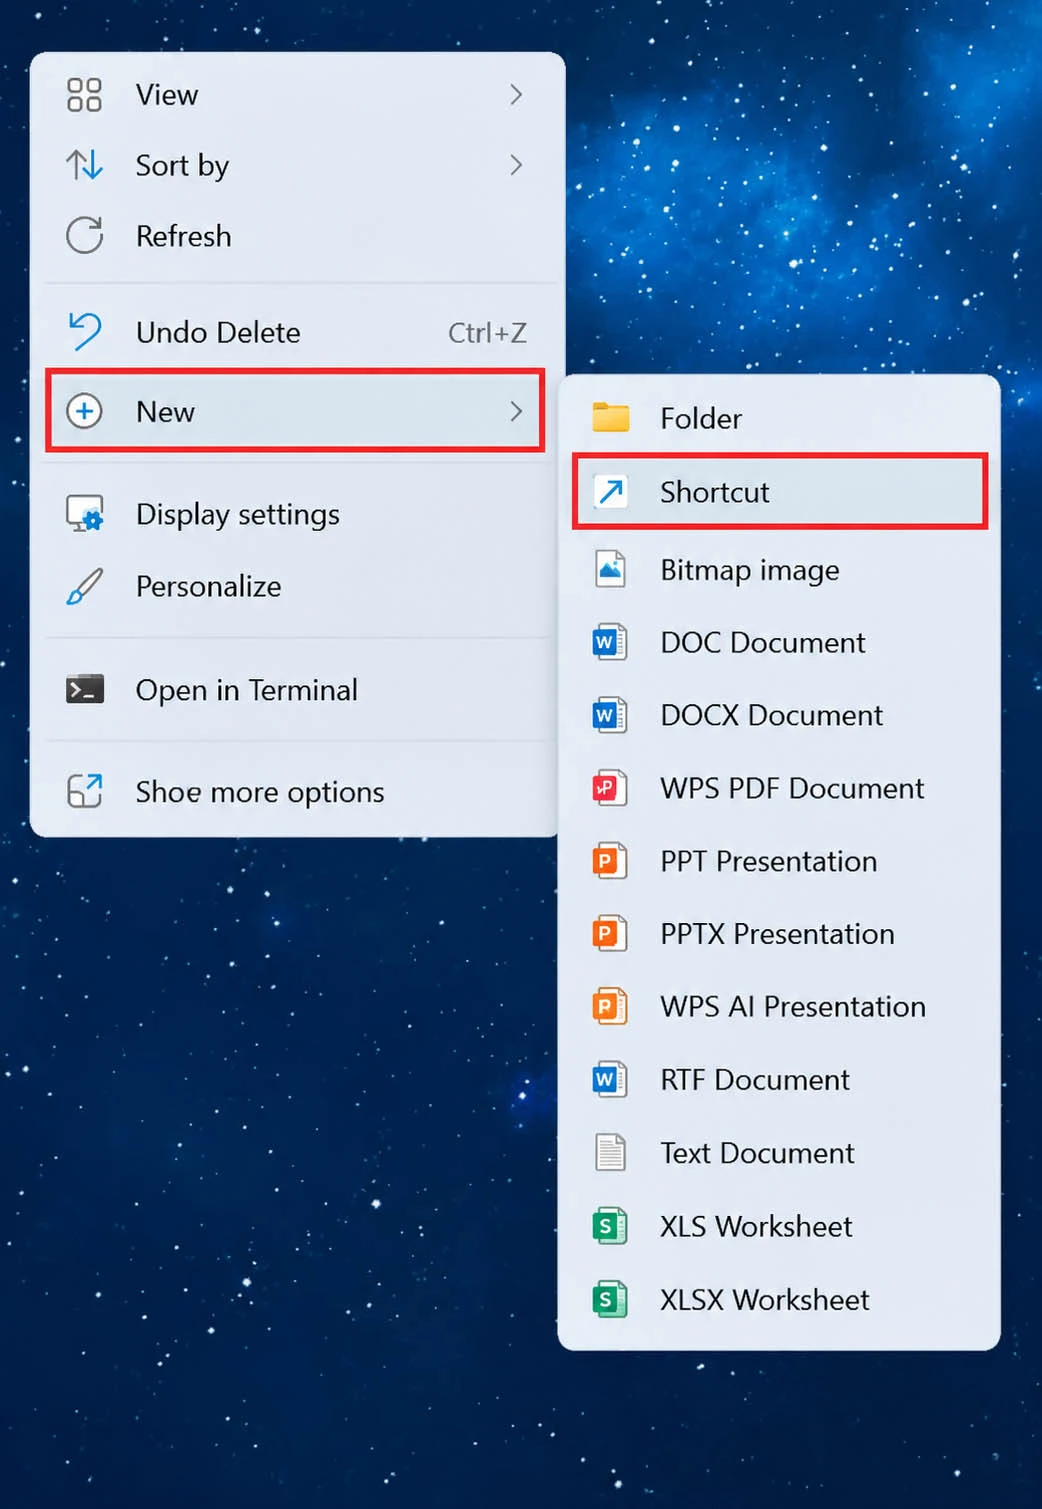
To make it easier to use later, we can create a shortcut on the desktop. That way, we won’t have to open CMD and type the command every time.
First, right-click on an empty area of your computer desktop. From the pop-up menu, select “New” -> “Shortcut.”
A window will pop up asking you to enter the location of the project. Please enter the following command in the text box:
npx --verbose @deepseek-ai/dsh web
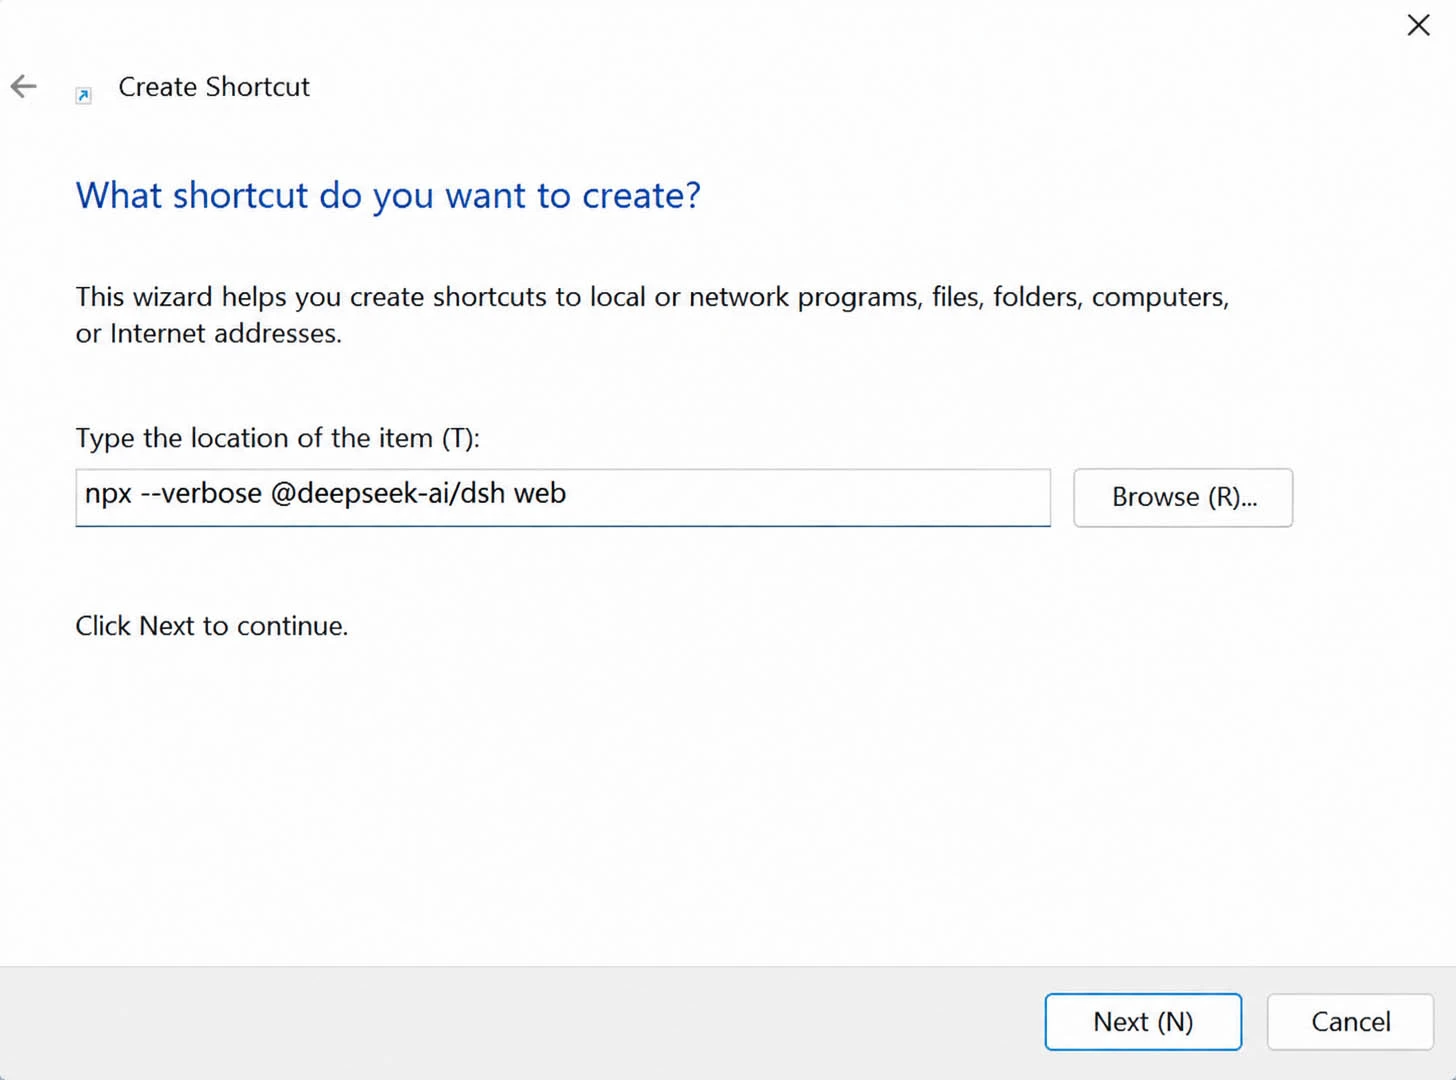
Next, click “Next.” Then give this shortcut a name, such as DeepSeek Harness, then click “Done.”
Now, you'll see an icon on your desktop labeled “DeepSeek Harness.”
Custom Settings (Optional):If you want to make this shortcut look better, right-click it, select “Properties,” and then find “Change Icon” on the “Shortcut” tab. You can choose any icon you like, such as DeepSeek's iconic black whale logo.
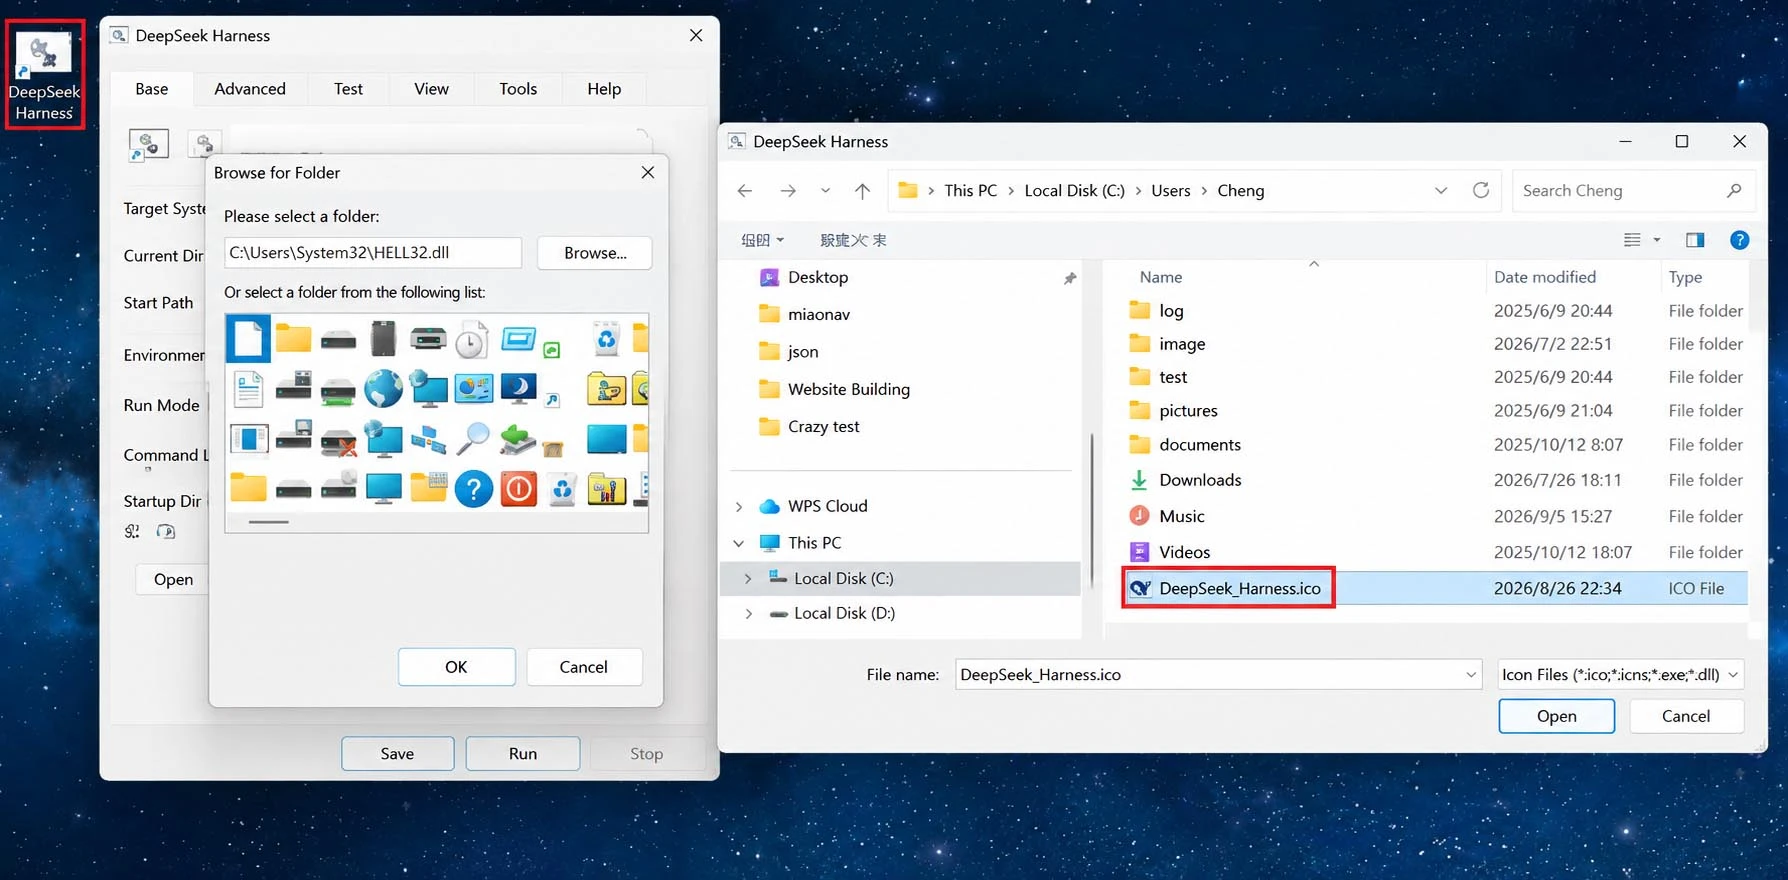
That completes all the installation and configuration steps. From now on, all you need to do is double-click the “DeepSeek Harness” shortcut on your desktop, wait for the program to load, and you’ll be ready to use it.
How do I uninstall DeepSeek Harness and the Node.js environment?
3.1 Uninstalling DeepSeek Harness
① Delete Personal Data:All of your configurations, session logs, and API keys are stored in a hidden folder. Regardless of how you originally installed the software, you’ll need to manually delete this folder.
Open File Explorer and type the following in the address bar: %USERPROFILE% Press Enter, then go to the user directory, locate, and delete the entire .dsh Folder
② Clear the npx cache:
The npx cache is typically located in the npm cache directory under _npx Folder. On Windows, you can simply enter the following command in CMD to clean it up:
rmdir /s /q "%LocalAppData%\npm-cache\_npx"
③ Delete the desktop shortcut
3.2 Uninstalling the Node.js Environment
① Turn on the computer's Control Panel > Programs and Features(or "Uninstaller").
② Find it in the list Node.js, right-click and select Uninstall, follow the prompts to complete the process
③ After uninstalling, check for and manually delete any remaining folders. These are usually located in your Node.js installation directory (available at where node (Command Lookup), there may be node_modules、node_cache Simply delete these folders, along with the previously configured global folders.